Ever wanted fresh, warm bread but didn’t have an oven? This no-oven stovetop bread technique makes your dream come true. It’s easy and turns your kitchen into a bakery.
In just 30 minutes, you can make soft, golden bread without an oven. Perfect for small spaces, camping, or trying something new. No-oven stovetop bread is for everyone who loves bread.
This guide shows you how to make delicious bread on your stovetop. You need basic ingredients, a pan, and a little curiosity. Get ready to change how you make bread with these easy steps.
Imagine enjoying a warm, perfectly made flatbread from your stovetop. Our detailed instructions will help you become a pro at no-oven stovetop bread. You’ll wow your family and friends with your new baking skills.
Understanding No-Oven Stovetop Bread
Baking bread doesn’t need a traditional oven. Stovetop baking is a great alternative for those who want fresh, tasty bread without fancy tools. It turns your cooktop into a bread-making machine.

What Makes Stovetop Bread Different
Stovetop bread is different from regular baking. It uses a quick bread recipe to make tasty loaves with simple ingredients. The main differences are:
- Faster cooking times
- Direct heat application
- Compact cooking environment
- Less energy consumption
Benefits of Stovetop Baking
Stovetop baking has many benefits for home bakers. You can make fresh bread without heating up the whole oven. It’s great for small kitchens or warm places. The process usually needs:
- Reduced cooking time
- Lower energy costs
- Flexible cooking locations
- Minimal equipment needed
Basic Principles of Stovetop Bread Making
Success in stovetop bread making comes from understanding heat and cooking techniques. Precise temperature control and the right pan are key for a golden, crispy crust. Learning these basics is essential for making great stovetop bread.
Essential Ingredients for Perfect Stovetop Bread
Making delicious no-bake bread on the stovetop is all about the right ingredients. With a few basic items, your kitchen becomes a bread-making paradise.
Key Ingredients for No-Bake Bread
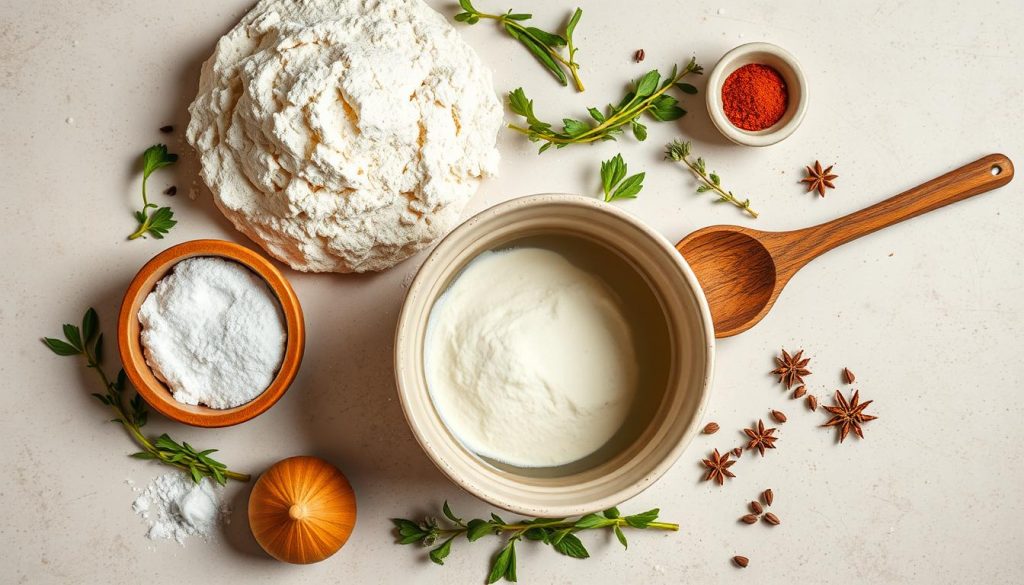
Your stovetop bread journey starts with six key ingredients:
- All-purpose flour: The base of your bread
- Active dry yeast: Adds rise and texture
- Sugar: Feeds yeast and adds sweetness
- Salt: Boosts flavor and controls yeast
- Cooking oil: Keeps bread moist and prevents sticking
- Milk or water: Activates yeast and shapes the dough
Smart Ingredient Substitutions
No-bake bread recipes are flexible. You can adjust ingredients for different diets:
- Gluten-free flour for those with dietary restrictions
- Plant-based milk for dairy-free options
- Coconut sugar or honey for a sweet twist
- Olive oil for a healthier cooking oil choice
Precise Measuring for Perfect Results
Getting the measurements right is key in stovetop cooking. Use standard measuring tools and level dry ingredients. For liquids, measure at eye level for accuracy.

Mastering these ingredients and techniques lets you make tasty no-bake bread on your stovetop. It’s quick, saves energy, and gives you a homemade treat in just 10 minutes.
Required Kitchen Tools and Equipment
Making homemade bread without an oven needs specific kitchen tools. With the right equipment, your bread recipe will come to life. A bit of creativity is all you need.
Here are the essential tools for your No-Oven Stovetop Bread journey:
- Large, heavy-bottomed pan with a tight-fitting lid
- Mixing bowl (preferably ceramic or glass)
- Measuring cups and spoons
- Kitchen scale (optional but recommended)
- Clean kitchen towel
- Wooden spoon or silicone spatula
For your stovetop “micro-oven” setup, you’ll need special items:
- Salt (2-3 cups) – Creates a heat-distributing base
- Small stones (6-7 pieces) – Helps with heat circulation
- A deep pan with a lid
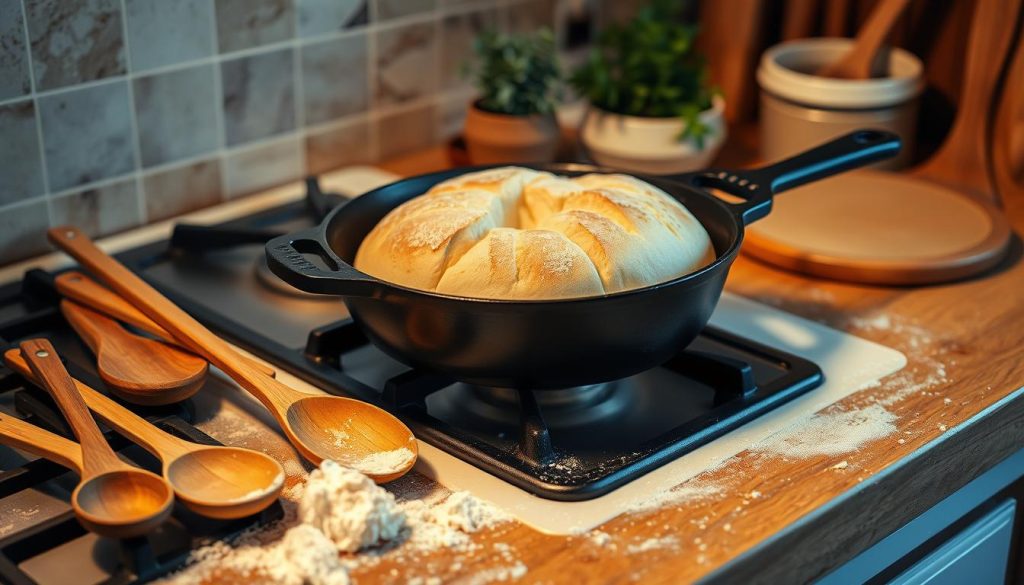
Pro tip: Choose a pan that heats evenly. Cast iron or heavy aluminum is best. A tight lid is key for trapping steam and getting that perfect crust.
Don’t worry if you lack specialized equipment. Most kitchen tools can be swapped with creative alternatives. The main thing is to understand how heat and technique work together in your No-Oven Stovetop Bread adventure.
Creating Your Stovetop “Micro-Oven” Setup
Stovetop baking is a creative way to make quick bread without special equipment. It turns your kitchen into a versatile space. All you need is some simple techniques and creative thinking.
To turn your stovetop into a baking area, you need to prepare well. We’ll show you how to make a reliable micro-oven. This will help you get consistent and tasty results.
Pan Selection and Preparation
Choosing the right pan is key for stovetop baking. Look for these features:
- Heavy-bottomed pan with a tight-fitting lid
- Diameter wider than your bread tin
- Smooth, even surface for heat distribution
Heat Distribution Methods
Even heat is vital for no-yeast bread. Here are some ways to achieve it:
- Use 2 full cups of salt as a heat conductor
- Arrange 6-8 heat-resistant stones (½ inch diameter) in the pan
- Flatten salt evenly to create a stable base
Safety Considerations
Remember these safety tips for stovetop baking:
- Always use oven mitts when handling hot surfaces
- Monitor heat levels carefully
- Ensure proper ventilation
- Keep a fire extinguisher nearby
With these tips, you’ll become a pro at stovetop baking. You’ll make delicious quick bread right on your cooktop.
Step-by-Step Dough Preparation
Starting with the dough is key to making perfect no-bake bread. Your journey in stovetop cooking begins with choosing the best ingredients. You also need to understand the science behind bread making.
To begin your simple bread recipe, you’ll need these ingredients:
- 3 cups all-purpose flour
- 1 1/2 teaspoons salt
- 1/2 teaspoon instant yeast
- 1 1/2 cups room temperature water
First, activate your yeast in lukewarm water. The water’s temperature is important. It should be warm, not hot or cold. Mix 1/2 teaspoon sugar with 1/4 cup warm water and your yeast. Wait 10 minutes for it to become foamy and smell good.
When kneading, aim for a smooth, elastic dough. Knead for 5-10 minutes until it’s soft and easy to shape. You’re building gluten strands for the bread’s structure.
After kneading, cover the dough and let it rest. The first rise will take 1-2 hours. During this time, the dough should grow bigger. This step is vital for flavor and texture in your no-bake bread.
Pro tip: Check if your dough is ready by gently poking it. If it springs back slowly, it’s proofed well and ready for the next step in your stovetop cooking journey!
Mastering the Proofing Process
Proofing is key to making tasty homemade bread, like No-Oven Stovetop Bread. It affects the bread’s texture, flavor, and quality. This step is vital for your easy bread recipe.
Optimal Proofing Conditions
Finding the right spot for your dough is essential. Aim for a warm, draft-free area with temperatures between 75-80°F. Here are important tips for proofing:
- Use a clean, lightly oiled bowl to prevent sticking
- Cover the dough with a damp cloth or plastic wrap
- Choose a warm location away from cold drafts
- Maintain consistent humidity around 75-80%
Signs of Properly Proofed Dough
Spotting when your dough is ready takes practice. Look for these signs during your bread-making:
- Volume Increase: Dough should double in size within 45-60 minutes
- Gentle indentations that slowly spring back when pressed
- Smooth, slightly puffy surface
- Visible air bubbles underneath the surface
Temperature is important for proofing. If it’s cooler, proofing takes longer. Warmer places speed it up. Always watch your dough for the best rise in your No-Oven Stovetop Bread.
No-Oven Stovetop Bread Cooking Techniques
Learning to bake on the stovetop opens up new ways to make tasty no-yeast bread. You can make your quick bread recipe come to life on your stovetop. Just use the right techniques and prepare carefully.
- Pan-frying method: Cook bread on a low-heat skillet
- Steaming technique: Create a makeshift cover for even cooking
- Low-heat slow cooking approach: Ensure complete bread development
To get the best results in your stovetop baking, remember these important points:
- Maintain very low heat (between 250-300°F)
- Cook each side for 4-5 minutes
- Total cooking time: approximately 8-10 minutes
Pro tip: Use a tight-fitting lid to trap heat and create an oven-like environment. This helps spread the heat evenly. It also prevents burning and makes sure your bread cooks well.
Your bread’s success depends on keeping the temperature just right and being patient. Look for golden-brown edges and a hollow sound when tapping the bread. These signs mean your bread is cooked perfectly on the stovetop.
Troubleshooting Common Stovetop Bread Issues
Stovetop cooking of no-bake bread can be tricky for home bakers. Even skilled cooks might face texture and temperature problems. Knowing these issues helps you get better at making stovetop bread.
Texture Challenges in Stovetop Bread
When making your no-bake bread, you might run into texture problems. Here are some solutions to get the perfect loaf:
- Uneven Cooking: Use a heavy-bottomed pan with a tight-fitting lid to distribute heat evenly
- Dense Bread: Make sure to proof properly and avoid overmixing the dough
- Gummy Interior: Lower your heat and cook for a longer time at a more moderate temperature
Temperature Control Strategies
Controlling temperature is key in stovetop cooking. Here are some tips for the best bread-making conditions:
- Use a cast-iron skillet or Dutch oven for consistent heat distribution
- Invest in a kitchen thermometer to monitor pan temperature
- Create a warm proofing environment by placing the dough near a warm (not hot) surface
Professional bakers say to keep your pan temperature between 350-375°F for the best bread. Remember, different stovetops heat differently. So, practice and patience are important to master your technique.
By learning these troubleshooting tips, you’ll be ready to tackle common stovetop bread-making challenges.
Storage and Freezing Methods
Keeping your homemade bread fresh is key. After baking, let the No-Oven Stovetop Bread cool down completely. This step is vital for its quality.
There are several ways to store your bread:
- Keep it at room temperature in an airtight container for up to 2 days
- Freeze it for longer storage, up to 3 months
- Use plastic wrap for a short time to keep it fresh
Freezing your bread? Here’s what to do:
- Let the bread cool to room temperature first
- Wrap it tightly in plastic wrap or a freezer bag
- Mark it with the date you made it
- Put it in the coldest part of your freezer
Thawing frozen bread needs patience. Move it from the freezer to the fridge. Let it thaw slowly overnight. This way, it keeps its texture and doesn’t lose moisture.
Pro tip: To warm up thawed bread, heat it in a skillet over low heat for 1-2 minutes on each side. This brings back its crispiness.
Variations and Flavor Enhancements
Stovetop baking isn’t just about basic no-yeast bread. You can try different flavors to make your quick bread recipe amazing. It will impress your family and satisfy your taste buds.
Sweet Flavor Innovations
Try these sweet variations to spice up your stovetop bread:
- Cinnamon swirl bread with a touch of vanilla extract
- Honey-drizzled flatbread with dried fruit pieces
- Chocolate chip no-yeast bread for dessert lovers
- Banana nut bread variation with mashed ripe bananas
Savory Flavor Combinations
For savory fans, here are some exciting mix-ins:
- Rosemary and garlic herb bread
- Jalapeño and cheese stovetop flatbread
- Mediterranean-inspired bread with olives and sundried tomatoes
- Onion and thyme savory bread
Seeds and Grains Enhancement
Add nutrition and texture with seeds and grains:
- Sunflower seeds for crunch
- Chia seeds for added protein
- Flaxseeds for omega-3 benefits
- Quinoa for a protein-rich texture
- Rolled oats for heartier bread
Don’t be afraid to experiment and find your favorite flavors. Each mix offers a unique twist to your no-yeast bread. Stovetop baking is a fun journey in the kitchen.
Time-Saving Tips and Batch Preparation
Learning to make no-bake bread on your stovetop doesn’t have to take a lot of time. With some smart preparation, you can make your simple bread recipe faster. This way, you can enjoy fresh bread without spending too much time every day.
Batch preparation is essential for busy home bakers who want to make stovetop cooking easier. Here are some tips to save time:
- Prepare multiple dough batches at once
- Pre-measure dry ingredients ahead of time
- Store partially made dough in the fridge
When you make dough ahead of time, keep these storage tips in mind:
- Refrigerate dough in airtight containers
- Use it within 48 hours for the best taste
- Let dough come to room temperature before cooking
Batch cooking can make your no-bake bread prep much quicker. A pro tip: Label your dough with dates and ingredients. This helps you keep track of freshness and manage batches well.
Try different proofing times and methods to find what works best for you. With practice, you’ll get a smooth stovetop bread-making routine. It will fit right into your busy schedule.
Conclusion
Your journey to make homemade bread without an oven has started. No-Oven Stovetop Bread is a new way to bake that’s easy and fun. You can make tasty bread with just a stovetop and simple tools.
Success comes from trying and experimenting. Every batch of bread you make will improve your skills. You’ll learn about heat, dough, and steam.
Stovetop bread is great for any situation. It’s perfect for small spaces, camping, or avoiding kitchen heat. This skill will open up new possibilities in your cooking.
Keep exploring and enjoying your bread-making adventures. Each loaf shows your creativity and growing skills in bread making.

